Most of us have probably created a mathematical envelope, although we likely didn’t call it that. Below is an example which may easily be sketched on a piece of graph paper. You can see the “move one up/down, move one left/right” method of determining the ends of the line segments. I created this envelope of lines using Python — we’ll look at the code later so you can make some of your own.

I first began sketching envelopes when I was an undergraduate. Of course they were aesthetically quite interesting — but as a mathematician, you cannot help but ask exactly what curve you’re approximating by drawing an envelope of lines.
Although it seems that you might be drawing tangents to a circular arc, this is not the case. By continuing the pattern of moving one up/down and left/right, the envelope in the first quadrant develops into the following figure.
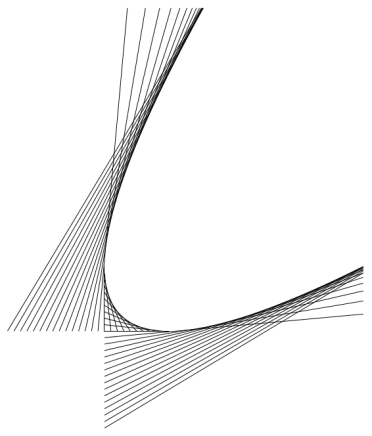
You can fairly easily see a parabola forming — and this parabola is in fact the curve whose tangents we drew on our graph paper.
How can we prove this? We need a theorem about tangents to parabolas, which we state as it applies to the case at hand, as shown below.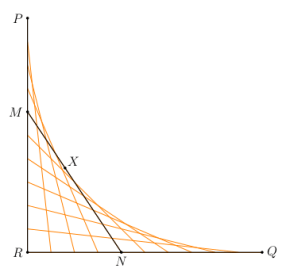
Here is how the theorem goes. Suppose P and Q are points on a parabola whose tangents intersect at R. If X is a point on the parabola between P and Q, and if the tangent at X intersects PR at M and QR at N, then
[PM] / [MR] = [MX] / [XN] = [RN] / [NQ],
where we use “[AB]” to mean the length of the segment AB. But in our case, [PR] = [QR], so this means that
[PM] = [RN] and [MR] = [NQ],
which validates our “one down, one right” method of creating endpoints of tangent segments. This is because by moving down one and right one, we are preserving the relationship [PM] = [RN], and hence also [MR] = [NQ].
For the curious reader, this helpful theorem about tangents to parabolas is very nicely proved by Steven Taschuk in his Notes on tangents to parabolas on p. 5 (where the names of points in my diagram above correspond to the names of points in his proof of the theorem).
So they’re parabolas! Not what you’d expect at first glance.
Of course back when I was beginning college, there was no easy way to create desktop graphics, and so I used the tried and true pen-and-paper method. I took a photo of one of my favorites from that time period.

Drawing these figure takes patience and concentration. I distinctly recall the first draft of this piece. If you look at the left square, you’ll notice that the blue lines look like they’re underneath the red lines. This isn’t hard to do — just draw the red lines first, and then when drawing the blue lines, just stop at the red and continue after. But I lost focus for just a second, and drew a blue line right over the red lines — and then had to start over. There was no erasing.
For those of you who want to try creating images by hand, a word about technique. When using an ink pen, the ink tends to blot — and if you drag the pen along a ruler, you might get end up with a smear of ink. So keep a napkin or paper towel handy, and wipe the tip of your pen on the paper towel after drawing each line. It’ll save you a lot of grief.
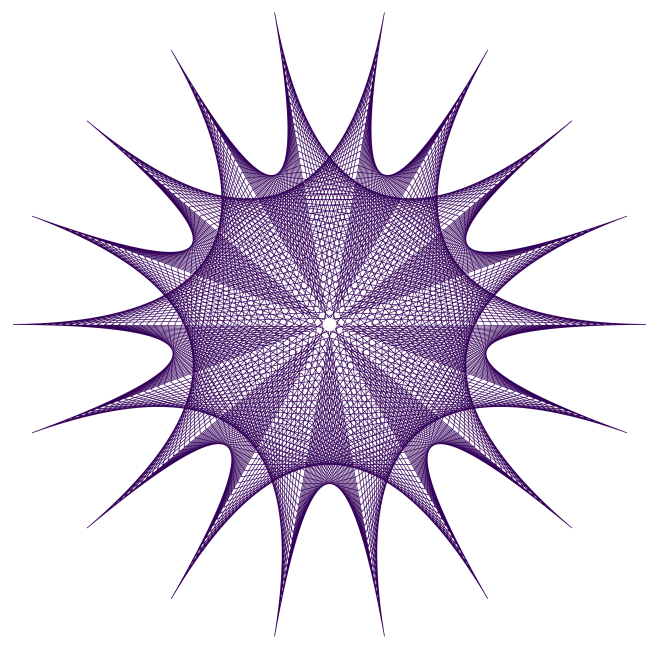
Despite the relatively simple method of drawing envelopes of lines, there is ample room for creativity. Here is a computer-generated version of a drawing dated December 24, 1986. It’s another of my favorites, and I love the effect of bright color against black.

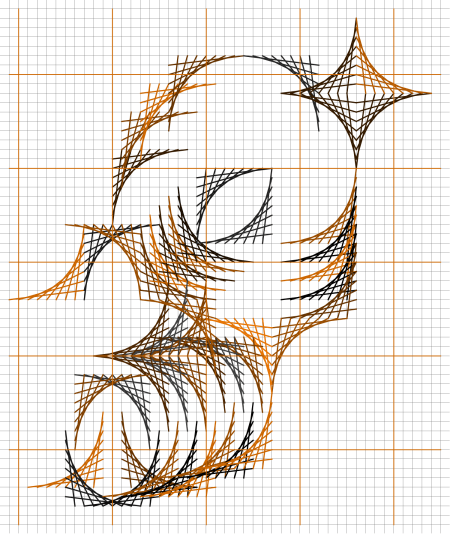
There’s no reason to stop at purely geometrical designs, either. Here is an abstract half-face of a tiger, created with a simulated graph paper background.
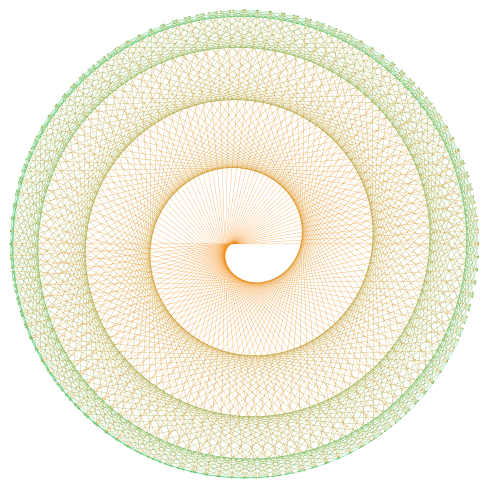
And then there’s polar graph paper! When you wanted a graph, well, you just drew it — there was no graphing calculator/computer to do it for you. So you had graph paper handy. Below is a design I created just for this post, based on some older sketches.
Here’s another image based on a sketch made on polar graph paper.
It’s been really interesting to experiment with the computer, since designs which might have taken hours to draw can be rendered in a few seconds (after you’ve done the programming, of course).
Envelopes are not restricted to being created by lines, however. The figure below creates a cardioid from tangent circles.

A base circle (in red) is given, and a point on the circle is selected (the white point at the left). Now for every other point on the circle (like the red point), create a circle by using that point and the white point as ends of a diameter of the circle (drawn in black). These circles are internally tangent to a cardioid.
I don’t have room for the proof of this construction here, but there is a very nice book called Envelopes by Boltyanskii (just google it) which illustrates many additional examples of envelopes as well as techniques to determine what the resulting curve is. Some of the techniques do involve calculus, so be forewarned! This book was my real introduction to a study of mathematical envelopes.
Now it’s time for you to create your own envelopes! You can click on the Sage link to follow along and alter the code as you see fit.
The routines aren’t really too complex. Note the use of vectors in Python to make working with the mathematics fairly simple. This is so we can compute the endpoints of the segments of the envelope easily. The mathematics involved is illustrated in the following figure.

It looks more complicated than it is. Since 


Similarly, 


So I’ll leave you to go ahead and experiment. Feel free to comment with images you create using the Python code. And stay tuned for next week, when I’ll talk about creating random envelopes. There’s some really interesting stuff going on there….

i was sketching some earlier today! now i finally know!
LikeLike